


Common electrical issues after replacing taillights in Mercedes-Benz and beyond include loose connections, corroded wires, faulty control modules, and overloaded circuits. Perform thorough inspections, test each light, and take a test drive post-replacement. Regularly check connections for loose or damaged wires to prevent flickering or malfunctioning lights. Consult an automotive specialist for recurring issues to identify underlying problems like faulty fuses or damaged wiring harnesses.
After replacing your taillights, ensuring proper electrical functionality is crucial for safety. This guide tackles common electrical issues in taillights and offers a step-by-step post-replacement check. Learn how to identify faulty connections, blown fuses, or damaged wiring that could jeopardize your vehicle’s lights. Armed with these troubleshooting tips, you’ll be prepared to prevent and fix taillight problems efficiently, enhancing both your car’s safety and reliability.
- Understanding Common Electrical Problems in Taillights
- Post-Replacement Checks: A Step-by-Step Guide
- Troubleshooting Tips for Taillight Repair and Prevention
Understanding Common Electrical Problems in Taillights

Electrical issues in taillights can arise from a variety of common problems that often surface after replacement. One of the most frequent issues is loose connections at the bulb sockets or wiring harnesses, which can lead to flickering lights or complete failure to illuminate. Corroded or damaged wires are another significant concern, as they disrupt the flow of electricity and can cause intermittent lighting or total malfunction.
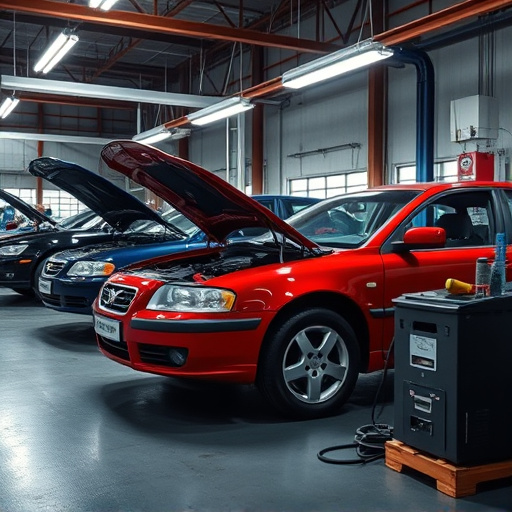
Additionally, faulty taillight control modules or relay switches may result in erratic lighting patterns or failure to turn on at all. These components play a crucial role in managing power distribution to the taillights, so any malfunctions need immediate attention. Moreover, issues with the vehicle’s electrical system, such as an overloaded circuit or faulty ground connections, can also manifest as problems in the taillights, highlighting the importance of a thorough inspection during any taillight repair or replacement for mercedes benz repair and beyond, encompassing even meticulous car body restoration work.
Post-Replacement Checks: A Step-by-Step Guide

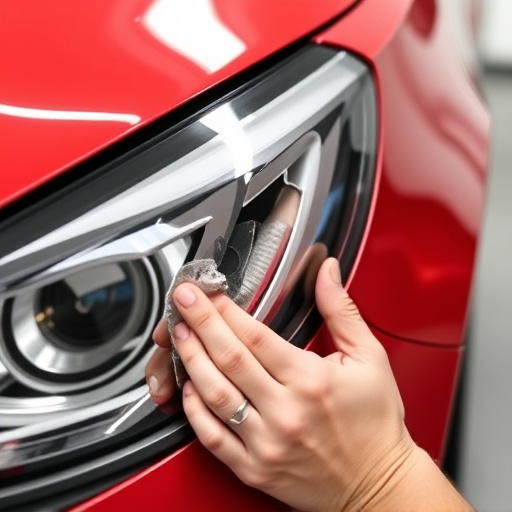
After successfully replacing your taillights, it’s crucial to perform a series of post-replacement checks to ensure they function correctly and safely. Begin by inspecting the new taillights for any visible damage or loose connections. Verify that all components are securely fastened, including bulbs, wiring, and brackets. Next, test each taillight individually by turning on your car’s ignition and checking if the light illuminates evenly. Ensure there are no flickering, dimming, or color variations, as these could indicate underlying issues.
Proceed to a test drive, observing the taillights’ performance under various conditions. Check their brightness and visibility from different angles and distances. Look for any sudden extinguishing, intermittent lighting, or unusual behaviors while braking or turning. If you notice any anomalies during this step, consult your vehicle’s owner manual for troubleshooting guidance or seek professional autobody repairs if necessary, remembering that timely taillight repair replacement can prevent more serious issues down the line.
Troubleshooting Tips for Taillight Repair and Prevention

When addressing electrical issues with taillight replacements, several troubleshooting tips can help prevent future problems and ensure your vehicle’s safety. Regularly inspect connections for any loose or damaged wires, as even a slight disconnect can cause flickering or malfunctioning lights. A quick visual check before driving off can catch these issues early on.
Additionally, consider the overall health of your vehicle’s electrical system. If you’ve had multiple taillight repairs, it might be worth consulting an automotive repair specialist to evaluate potential underlying problems. From faulty fuses to damaged wiring harnesses, these hidden issues could be causing frequent taillight repairs and are best addressed by a professional vehicle body shop to ensure long-lasting solutions.
After replacing your taillights, it’s crucial to perform thorough checks to ensure proper function and prevent future electrical issues. By following a structured step-by-step guide for post-replacement inspections and armed with helpful troubleshooting tips, you can effectively maintain and prolong the lifespan of your vehicle’s taillights, ensuring safety on the road and saving potential repair costs associated with taillight repairs or replacements.