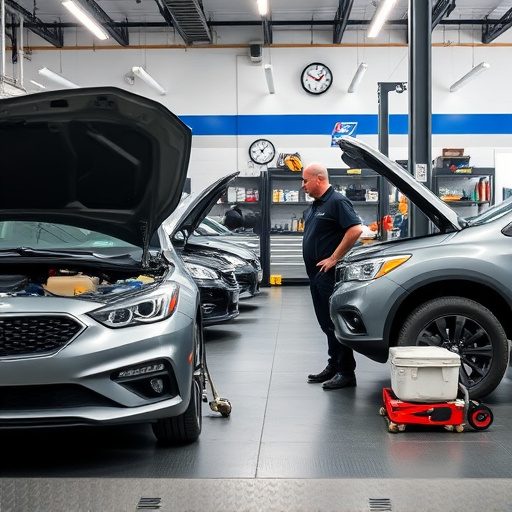


Taillight repair replacement addresses issues like flickering bulbs, shattered lenses, or faulty wiring caused by accidents or wear and tear. Technicians perform visual inspections and diagnostic tests to identify problems, then conduct repairs or replacements for optimal visibility and safety. This process involves removing old assemblies, installing new ones, and securing electrical connections, with regular maintenance recommended to prevent severe damage.
“Taillight problems can pose significant safety risks on the road, necessitating prompt attention. This comprehensive guide delves into the process of diagnosing and replacing taillights, equipping technicians with essential skills for efficient repairs. From understanding common issues like burnt-out bulbs, foggy lenses, or electrical malfunctions to a step-by-step replacement guide, this article offers valuable insights into taillight repair and replacement. Whether you’re a professional mechanic or an enthusiast taking on the task yourself, these techniques will ensure your vehicle’s lights function optimally.”
- Understanding Common Taillight Issues
- Diagnosing Problems Through Visual Inspection
- Replacement Process Step-by-Step Guide
Understanding Common Taillight Issues

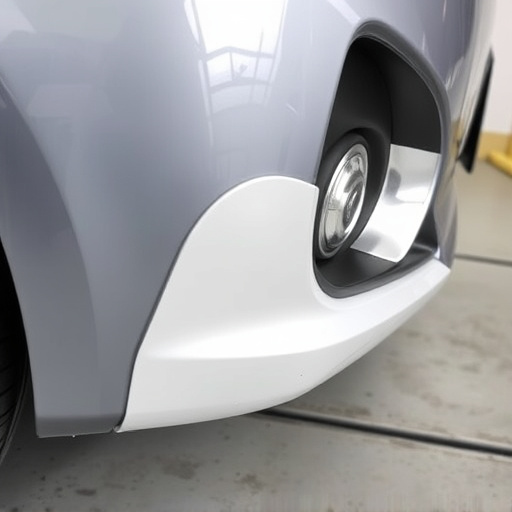
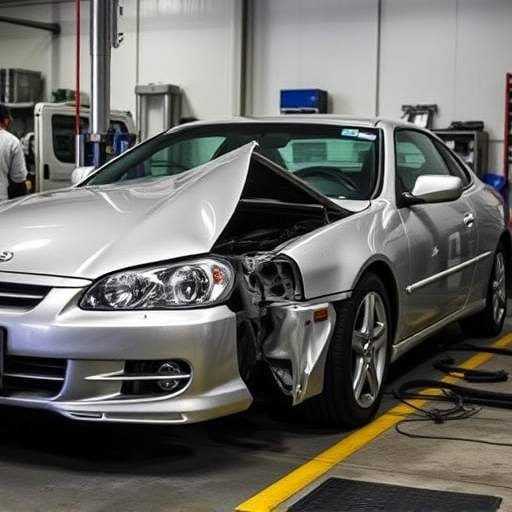
Taillights are an essential safety feature on any vehicle, making their proper functioning crucial for both driver awareness and road safety. Common taillight issues can range from minor problems like flickering or dim lights to more severe cases such as shattered lenses or faulty wiring. These issues often arise due to a variety of reasons—from minor accidents like fender benders to prolonged exposure to harsh weather conditions, aging components, or even simple wear and tear over time. Understanding these common problems is the first step for technicians when diagnosing and performing taillight repair replacement during automotive restoration or auto body repairs.
By identifying specific symptoms like uneven light distribution, discolored lenses, or loose connections, technicians can pinpoint the exact cause of the problem. This process involves careful inspection of the taillight assembly, checking for damage to the housing, lens, or internal components. With accurate diagnosis, technicians can then recommend appropriate solutions, whether it’s a simple bulb replacement, a lens repair, or a complete unit swap, ensuring optimal visibility and safety on the road.
Diagnosing Problems Through Visual Inspection

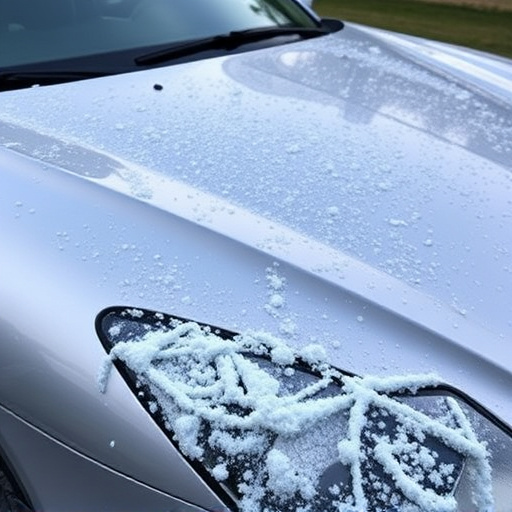
During the initial stage of diagnosing taillight problems for replacement, technicians conduct a meticulous visual inspection. This involves carefully examining the taillights and their surrounding areas to identify any visible defects. Signs such as cracks, chips, discoloration, or loose connections are indicators of potential issues that may require immediate attention. Technicians also check for proper alignment and positioning, ensuring the lights are functioning optimally and in compliance with safety standards.
A visual inspection helps in pinpointing problems that might be more apparent than others. For instance, a minor crack on the lens could affect light output and visibility, while a loose wire connection might cause flickering or intermittent lighting. By identifying these issues early on, technicians can efficiently proceed with tailored solutions, whether it’s a simple repair, a partial replacement, or a complete taillight assembly swap, thus streamlining the entire taillight repair replacement process.
Replacement Process Step-by-Step Guide

Taillight Repair Replacement: A Step-by-Step Guide
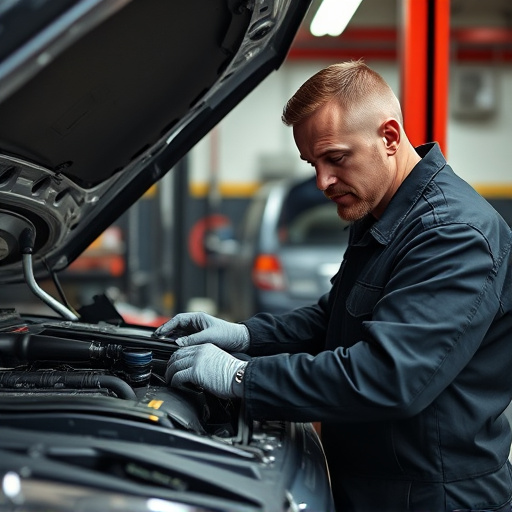
The first step in taillight repair replacement is identifying the issue. Technicians start by inspecting the taillights for any visible damage, such as cracks or breaks, which often indicate a need for replacement. They also check for functional issues like flickering, non-illumination, or uneven brightness during testing. Using diagnostic tools, they can pinpoint specific components causing problems, whether it’s the bulb, socket, or wiring harness.
Once the problem is identified, technicians proceed with the replacement process. This involves removing the damaged taillight assembly, which typically requires unscrewing or unclipping it from the car body. They then install a new taillight, ensuring proper alignment and secure attachment. Before reattaching any electrical connections, they verify that all components are correctly replaced to prevent future issues. In cases of severe damage, like those resulting from a collision repair or vehicle dent repair, complete taillight assemblies may need to be ordered, highlighting the importance of timely maintenance to avoid such extensive repairs.
When diagnosing and replacing taillights, technicians utilize a combination of visual inspections and technical knowledge. By understanding common issues and following a structured process, they can efficiently navigate the taillight repair replacement journey. This article has provided an overview of these steps, empowering car owners to better appreciate the expertise involved in ensuring safe and effective taillight repair replacement.