


Before scheduling a taillight repair replacement, inspect both taillights for cracks, fading, loose connections, brightness, color consistency, and seal integrity. Consider lens condition and vehicle's overall aesthetic or safety needs. Gather essential tools and specific parts matching your vehicle's make and model. Prepare workspace with proper lighting, remove obstacles, park in shade, and wear safety gear to prevent damage or injury during the process.
Before scheduling a taillight repair replacement, there are crucial steps to take. First, assess the functionality and damage of your taillights. Next, gather all necessary tools and parts. Ensure your work area is safe before beginning. These preliminary steps will not only guarantee a successful repair but also enhance road safety. Learn more about these essential tasks in our comprehensive guide on taillight repair replacement.
- Assess Taillight Functionality and Damage
- Gather Necessary Tools and Parts
- Ensure Safe Work Environment Before Starting
Assess Taillight Functionality and Damage

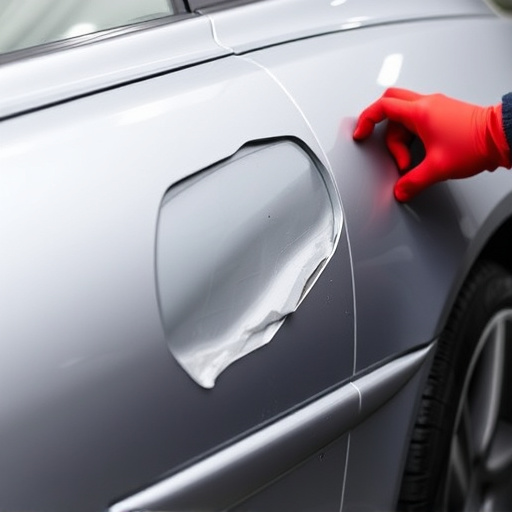
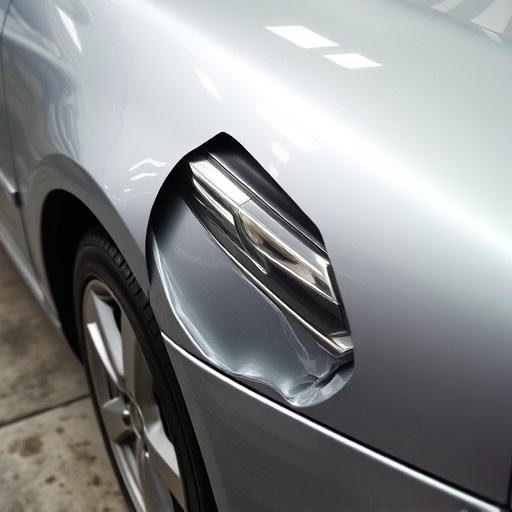
Before scheduling a taillight repair replacement, it’s crucial to assess its functionality and damage. Start by inspecting both taillights for any signs of cracking, fading, or loose connections. Check if they are properly illuminating when turned on, focusing on brightness and color consistency. Note any flickering or dimming issues that could indicate internal problems. Additionally, examine the housing for dents, scratches, or other physical damage that might compromise the seal and expose the light components to moisture, leading to premature failure.
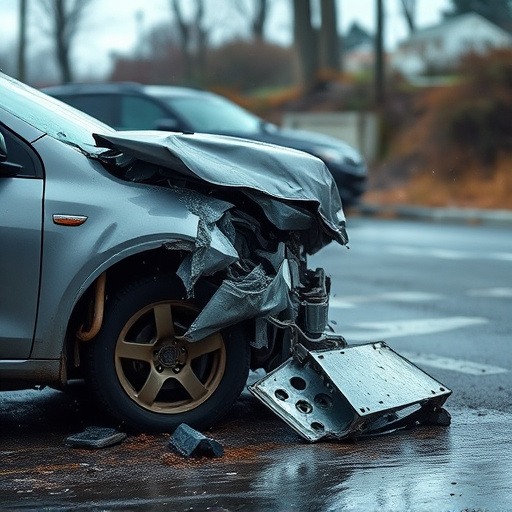
During this evaluation, pay special attention to the lens itself. Look for cracks, chips, or discoloration that could reduce visibility and contribute to unsafe driving conditions. If you’re considering a bumper repair or vehicle restoration as part of a broader aesthetic or safety upgrade, it’s important to assess how the taillight condition fits into these projects. Ensure that replacement parts are compatible with your vehicle’s make and model, and consider seeking advice from an automotive body shop professional for guidance on the best course of action.
Gather Necessary Tools and Parts

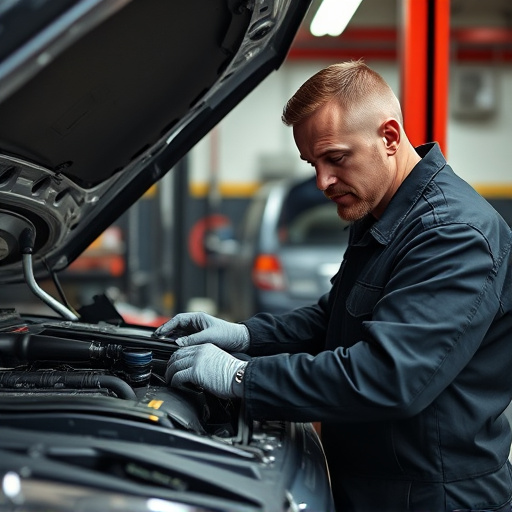
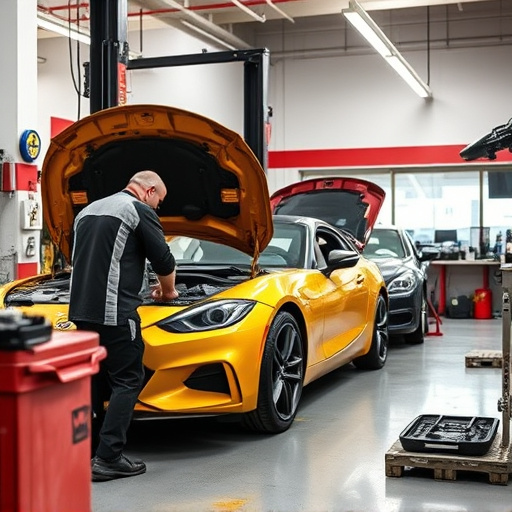
Before tackling a taillight repair replacement, ensure you have all the necessary tools and parts on hand. This includes a set of basic auto repair tools like socket sets, wrenches, screwdrivers, and pliers. For a successful and safe process, specialized tools such as a tail light removal tool or a heat gun (for softening stubborn seals) can prove invaluable. Additionally, you will need to acquire the specific taillight assembly that matches your vehicle’s make and model. It’s crucial to verify compatibility with your luxury vehicle repair before purchasing.
Remember, safety is paramount during any auto collision center task. Stock up on high-quality replacement parts, as cheap alternatives may not offer the same level of durability or performance. With the right tools and parts, you’re well-prepared for a smooth and effective taillight repair replacement process that could potentially save you time and money compared to visiting an auto glass replacement service center.
Ensure Safe Work Environment Before Starting
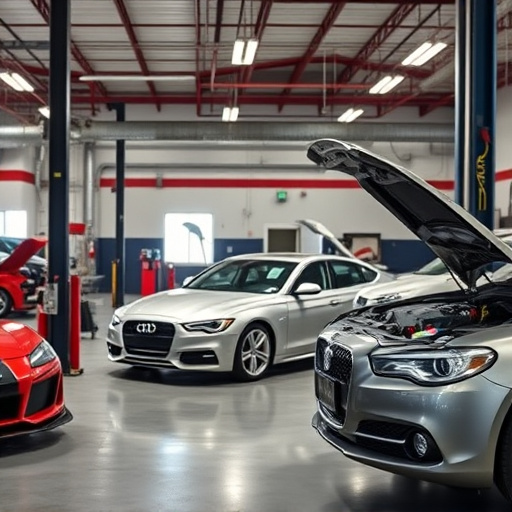
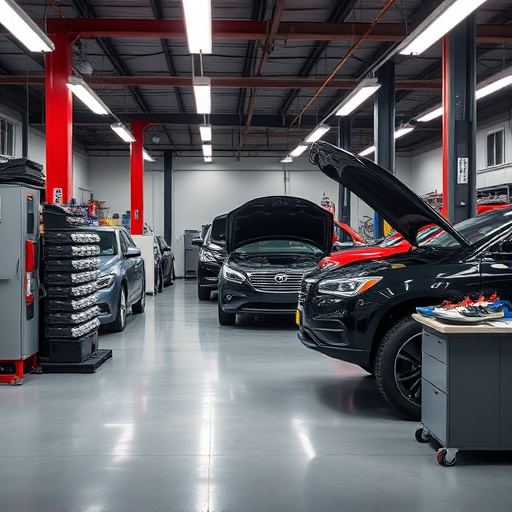
Before tackling any taillight repair or replacement, it’s imperative to prioritize safety. This involves preparing your workspace, gathering all necessary tools and equipment, and ensuring proper lighting. A well-lit area allows for better visibility, which is crucial when working with intricate automotive parts like taillights. Remove any obstacles from your work zone to create a clear, safe path. If possible, park your vehicle in a garage or shaded area to avoid direct sunlight that could cause eye strain or temporary blindness while handling the bright lights and their components.
Creating a safe environment for taillight repair extends beyond physical preparation. Protecting yourself with safety gear, such as gloves and goggles, is essential to prevent debris from entering your eyes and hands. This step ensures you can focus on the task at hand without any interruptions or accidents. Remember, even simple tasks like replacing a taillight require attention to detail and caution to avoid damage to both the vehicle and yourself.
Before scheduling a taillight repair replacement, assess the functionality and damage of your taillights, gather the necessary tools and parts, and ensure a safe work environment. By following these steps, you’ll be well-prepared to tackle the process confidently, ensuring your vehicle’s lighting system is reliable and compliant with safety standards. Remember, proper maintenance enhances road safety, so don’t delay in addressing any issues with your taillights.