


Before attempting a taillight repair replacement, gather necessary tools and compatible parts. Park on a level surface, engage the parking brake, and allow the car to cool before removing the old taillight assembly carefully. For proper installation, follow manufacturer guidelines, test lighting patterns, and perform regular maintenance for safe and reliable taillight functionality.
Are you getting ready to replace your vehicle’s taillights? It’s a task that requires precision and safety. This guide will walk you through the process, ensuring a smooth and effective taillight repair replacement. From gathering the right tools and parts to installing new lights, we cover it all. By following these steps, you’ll not only enhance your vehicle’s safety but also its overall appearance. Get ready to navigate the nighttime roads with confidence!
- Gather Necessary Tools and Parts for Taillight Repair
- Safely Remove the Old Taillight Assembly
- Install New Taillights Following Manufacturer Guidelines
Gather Necessary Tools and Parts for Taillight Repair

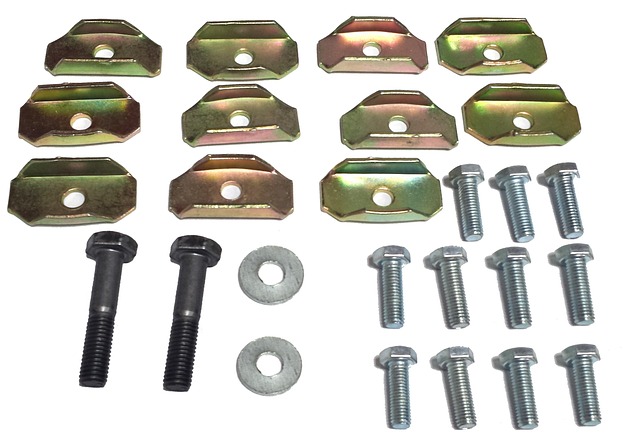
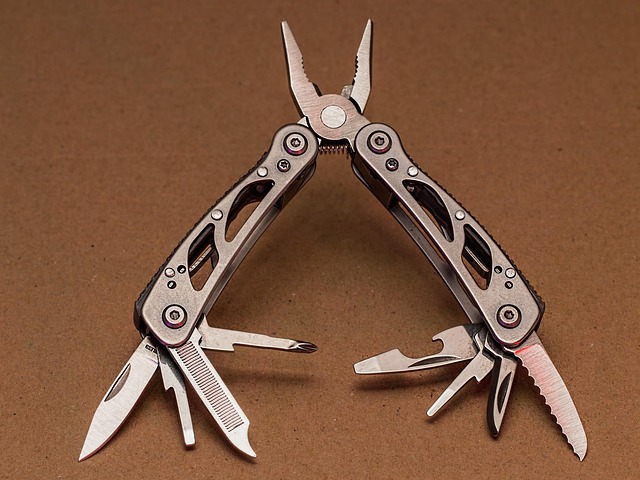
Before tackling a taillight repair replacement, ensure you have all the necessary tools and parts. This typically includes a new taillight assembly, along with tools such as wrenches, screwdrivers, and possibly a heat gun for removing the old light. It’s crucial to match the new taillight with your vehicle’s make and model to guarantee compatibility. For safety reasons, consider having replacement auto glass or a car body shop nearby in case of any unexpected issues during the repair. While hail damage repair isn’t directly related, having a reliable mechanic for such unforeseen circumstances can save you from additional stress.
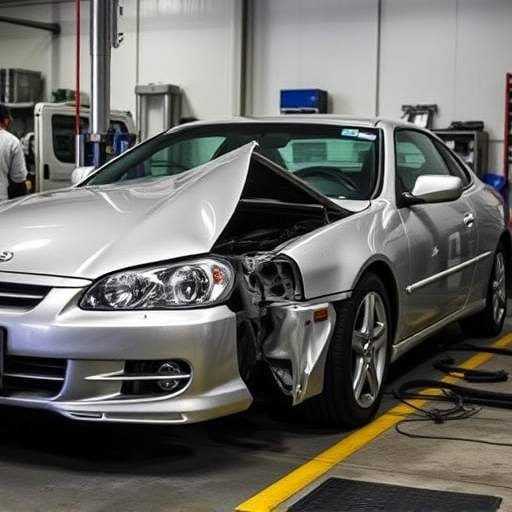
Safely Remove the Old Taillight Assembly

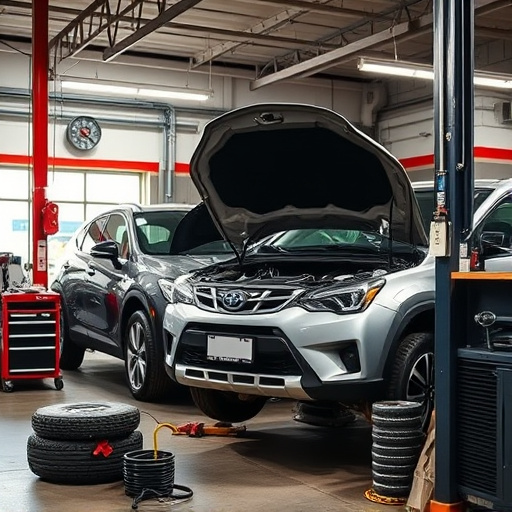
To begin your taillight repair replacement, the first step is to safely remove the old assembly. Park your vehicle on a level surface and engage the parking brake for safety. Ensure that the car is cool to touch, as working with hot components can be dangerous. With the proper tools, locate the fastening points of the taillight—these could be screws or bolts—and carefully unscrew them in a counter-clockwise direction. Once loosened, gently pull the old taillight assembly out from its housing. Take note of how it was attached for reference when installing the new light. This meticulous process is an integral part of any taillight repair replacement, ensuring a smooth and secure installation.
Remember that proper vehicle restoration involves paying close attention to detail, especially in automotive body work. During this removal process, be mindful of any nearby components or wires that could be vulnerable to damage. If you’re unfamiliar with automotive collision repair, consider seeking guidance from a professional mechanic to ensure the safety and integrity of your vehicle’s lighting system.
Install New Taillights Following Manufacturer Guidelines

When it comes to installing new taillights after a repair replacement, adhering to the manufacturer’s guidelines is paramount. This ensures not only proper functionality but also compliance with safety standards. Start by gathering all necessary tools and parts, double-checking their compatibility with your vehicle make and model. Remove the old taillights carefully, taking note of any wiring or components that need to be reinstalled.
Follow the manufacturer’s instructions for mounting the new taillights, ensuring they are securely fastened. Proper alignment is key; misaligned taillights can affect lighting patterns and may not pass inspection. Once mounted, test the lights thoroughly under various conditions to guarantee they function optimally. Regularly checking and maintaining your vehicle’s lighting system, including taillights, is an integral part of responsible automotive repair and contributes to overall road safety.
Preparing your vehicle for a taillight repair replacement involves a few key steps, including gathering the right tools and parts, safely removing the old assembly, and carefully installing new taillights according to manufacturer guidelines. By following these simple procedures, you can ensure your vehicle’s lights function properly, enhancing safety on the road. Remember, proper taillight repair is not only crucial for visibility but also a vital aspect of vehicle maintenance that every driver should be aware of.